
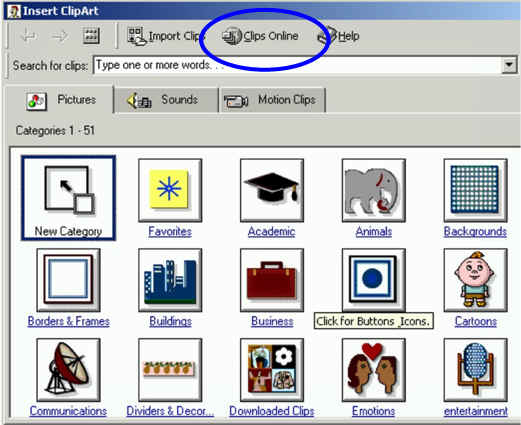
Unfortunately, on many of the computers in here, you can see many pictures in a category, but most are unavailable. To get around this, choose Clips Online (circled in blue).
|
|
|
| Click the Insert Clip Art button (looks like a cartoon face) and you will get... | ...the Insert Clipart
window.
Unfortunately, on many of the computers in here, you can see many pictures in a category, but most are unavailable. To get around this, choose Clips Online (circled in blue). |
|
|
|
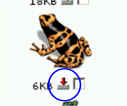
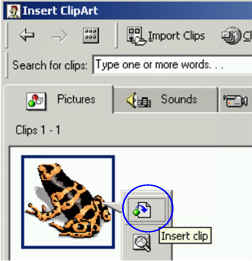
| Find a clip you like and press the button. | Once you press the button, you will be back to the Insert ClipArt window and you can press your ClipArt and Choose the Insert clip icon (circled in blue). |
|
|
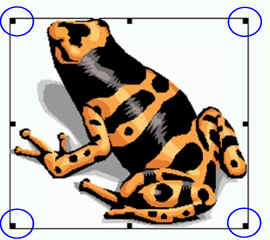
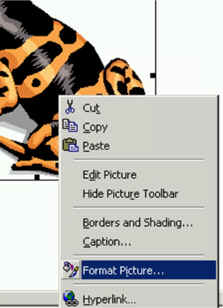
| In Word, you should see your Clip. Click on it once so that you have a black box with small black squares around it. You can use the corner squares to resize your clipart. Use the corners to resize or you might change the look of your picture. | You'll probably notice that you can't really move your Clip. We'll need to change the wrapping. Right-click on the clip and choose Format Picture. |
|
|
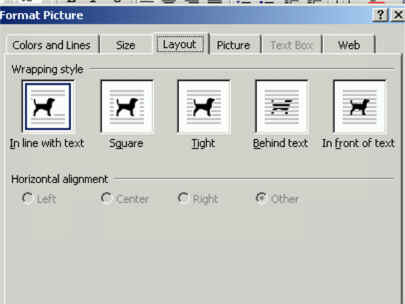
| Choose the Layout Tab. | Usually ClipArt will start with "In line with text" which means that your clip will be inline with the letters you type from the keyboard. A common wrapping for text documents is Square. |
Your Project:
Create a cartoon using Clipart and AutoShapes
I will not specify too much about the length of this project except to say that it should represent about one class period worth of effort for you.
Click here to see my (rather dull) example.